
Creative crafts are one of the fastest ways to turn a simple idea into something real you can hold, gift, or use to decorate your space. The best part is that you don’t need fancy tools or “artist talent” to get great results. When you follow a clean process—choosing a theme, using a consistent color palette, and finishing details neatly—your crafts instantly look more professional and shareable on social media.
This article is written to help you actually create. You’ll get the essential materials, a clear step-by-step method, and practical tips to make your DIY projects look polished—even if you’re a beginner.
What Creative Crafts Really Are (And Why People Love Them)
Creative crafts are DIY projects made by hand using materials like paper, cardboard, paint, fabric, recycled jars, and basic decorative elements. People enjoy them because crafting is both relaxing and rewarding: your mind focuses on a single task, your hands stay busy, and by the end you’ve created something useful or beautiful. It’s also a low-cost hobby because many craft projects begin with items you already have at home.
Another reason crafts are so popular is that they’re flexible. You can craft for fun, craft for your room, craft for gifts, or even craft to sell. Once you learn a simple creation system, you can reuse it for almost any project.
The Craft Project We’ll Build in This Guide
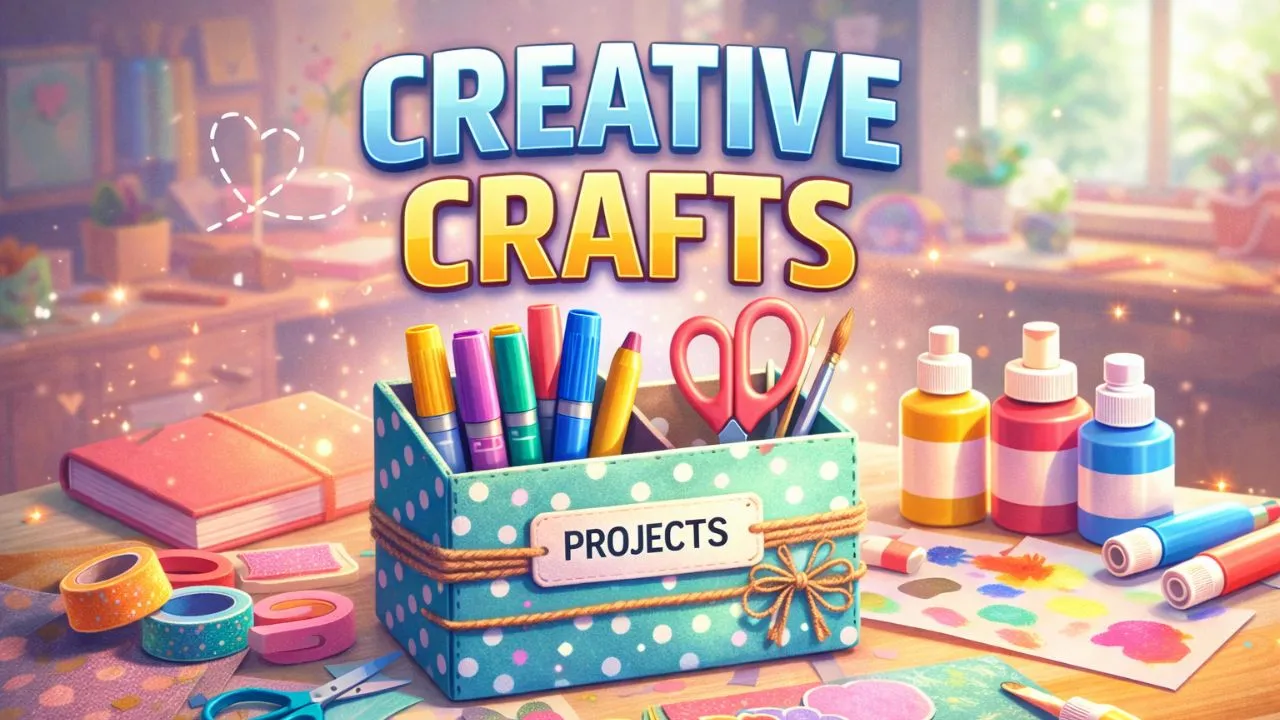
To keep this practical, we’ll build a project that’s easy, affordable, and looks impressive: a DIY Desk Organizer (Upcycled Storage Box). It works for pens, cables, makeup, tools, school supplies, or anything that needs a clean spot. You can also gift it or sell it because it photographs well and has real everyday value.
Materials You Need (Simple and Affordable)
You don’t need a full craft studio. Most of these supplies are common, and you can substitute based on what you already own. You’ll need one sturdy box (like a cereal box, shoe box, or small shipping box), paper to cover it (gift wrap, cardstock, magazine pages, or even plain paper you’ll paint), scissors, glue, and a ruler. If you want a cleaner finish, add clear tape for edges and a marker or paint for small details. Optional materials like twine, stickers, or labels can help your organizer look premium, but the project works without them.
The secret is not having “more materials.” The secret is using a few materials neatly.
Step-by-Step: How to Make a Creative Craft Organizer
Step 1: Choose the purpose and size
Start by deciding what your organizer will hold. If it’s for pens and markers, a smaller box is enough. If it’s for cables or tools, you’ll want something wider. This step matters because it helps you avoid building something pretty that isn’t useful. Measure the items quickly and pick a box size that gives them breathing room.
Step 2: Plan a clean design
Before cutting anything, choose a simple style. Pick two main colors and one accent color. This gives your craft a “designed” look instead of a random mix. If you’re using patterned paper, keep the pattern consistent and avoid mixing too many prints. Clean design is what makes beginner crafts look professional.
Step 3: Shape the organizer
If your box is tall, you can cut the front lower to create a “front opening” where you can easily grab items. Use a ruler to mark your cut lines so both sides match. Cut slowly to keep edges clean. If your edges look rough, you can smooth them with extra paper coverage later.
Step 4: Wrap the box like a gift
Measure each side of the box and cut your covering paper with extra margin so you can fold it neatly over the edges. Apply glue evenly (not too much), press the paper flat, and smooth it with your fingers or a card. When the paper is tight and wrinkle-free, the craft looks instantly higher quality.
Step 5: Reinforce corners and edges
Corners are the first place a craft looks “cheap” if they’re messy. Fold paper edges inward like wrapping a present and press firmly. If you want extra durability, add a thin line of clear tape or a small strip of cardstock inside corners. This makes your organizer stronger and keeps the finish clean.
Step 6: Add one “signature detail”
Instead of adding too many decorations, add one strong detail that makes it stand out. That could be a simple label area, a small twine wrap around the bottom, or a minimal design line with a marker. This is the step that makes it look like something you’d buy in a store.
Step 7: Let it dry and test it
Give the glue time to dry fully so the paper doesn’t lift. Then test it with real items. If it feels weak, you can reinforce the inside with an extra layer of cardboard. A craft that lasts is always more impressive than a craft that only looks good for a photo.
How to Make Your Creative Crafts Look More “High-End”
The biggest difference between “school project” and “aesthetic DIY” is the finishing. Clean cuts, straight lines, and smooth paper wrapping do most of the work. Another professional trick is leaving some empty space—your design doesn’t need to cover every inch. Minimal details with clean structure look more premium than busy decoration.
Lighting matters too. If you want to post your craft online, take photos near a window on a simple background. A clean photo can make a simple craft look like a premium product.
Creative Crafts Ideas You Can Try Next (Without Overthinking)
Once you understand the process, you can repeat it for many projects. The same “plan → shape → wrap → finish” method works for gift boxes, storage trays, bookmark sets, mini photo frames, jar holders, and wall decor. If you want to build a series for content, keep the same style (colors and theme) so your posts look like a collection.
Final Tips for Beginners Who Want Better Results Fast
Start with one project and repeat it in different styles instead of jumping to ten different crafts. Repetition is what makes your work cleaner. Also, keep your first crafts simple. When the base looks neat, you can add advanced details later without ruining the finish.